
5 Simple Steps to Perfectly Painted Walls with Painters Tape
Painting your walls can be daunting, but painter's tape is an easy way to achieve clean, precise lines. Follow these five simple steps for perfectly painted walls with painter's tape:
- Choosing the Wall: Choosing the right wall for the job before painting. If you paint a newly constructed wall, ensure it is dry and ready to be painted. If you are painting an old fence, clean it thoroughly before applying the painter's tape.

2. Cleaning the area: Before applying the painter's tape, please clean the area thoroughly. This will ensure that the tape sticks properly and creates a clean line. Use a dry cloth or a mild cleaner to remove any dirt or dust from the wall.

3. Setting the Painter's Tape: Once the area is clean, it's time to apply the painter's tape. Start by unrolling a length of tape and sticking it to the wall. Use a straight edge or a ruler to ensure the tape is straight and evenly spaced. If you are creating a pattern or design, use a pencil to lightly mark the areas where you want the video to go.

4. Using a tool to Stick it Better: If the tape is not sticking correctly, you can use a tool to help it stick better. A plastic scraper or a credit card can gently press down on the tape and ensure it adheres to the wall.

5. Paint: Once the painter's tape is in place, you can start painting. Use a paintbrush or a roller to apply the paint evenly, making sure to stay within the lines of the tape. Be sure to let the paint dry completely before removing the tape.

6. Take the Tape Out: Once the paint is dry, it's time to remove the painter's tape. Gently pull the tape off the wall, making sure not to pull the color off with it. If the paint has bled under the tape, you can use a small paintbrush or a cotton swab to touch up any imperfections.

Enjoy the results!
What's the Next paint job?
There are countless ways to use painter's tape in professional and DIY projects. Here are a few common examples:

- 1. Masking off areas for painting: This is the most common use for painter's tape. Applying the tape to surfaces you don't want to be painted can create clean, crisp lines and prevent accidental drips and splatters from marring adjacent surfaces.
- 2. Creating stripes and patterns: Painter tape can create variously striped and patterned effects on walls and other surfaces. Apply the tape the desired way, paint over it, and then remove it to reveal the underlying surface.
- 3. Protecting surfaces during construction or renovation: Painters' tape can protect surfaces from damage during construction or renovation projects. For example, you can use it to cover countertops, flooring, and other surfaces to prevent scratches and dents.

- 4. Making Frames: Painters tape is an excellent alternative to traditional adhesive products like tape or glue for hanging signs and decorations. It's ideal for framing pictures and posters, especially if you will artistically intervene in them. It's gentle on surfaces and can be easily removed without leaving behind any residue.
Following these simple steps, you can achieve painted walls with clean, precise lines using painter's tape and make a full-on renovation, making it cost-effective, fun, and entirely done by yourself! Happy painting!
Product Catalog
-
Original price $1.40 - Original price $308.88Original price $1.40 - Original price $308.88Original price $163.80As low as: $1.40$1.40 - $237.60Current price $1.40
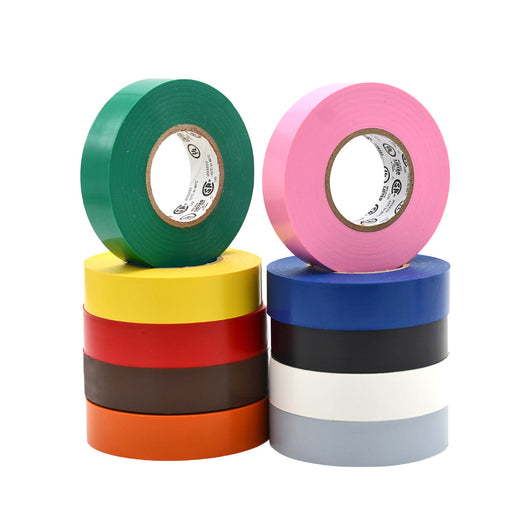
Colored Electrical Tape - Standard Grade - 66 feet | ETC766MS
Designed for professional and general-purpose use, it comes inOSHA-approved colors and is UL/CSA certified for safety...
View full details -
Original price $21.99 - Original price $579.99Original price $21.99 - Original price $579.99Original price $21.99As low as: $11.58$11.58 - $417.53Current price $11.58
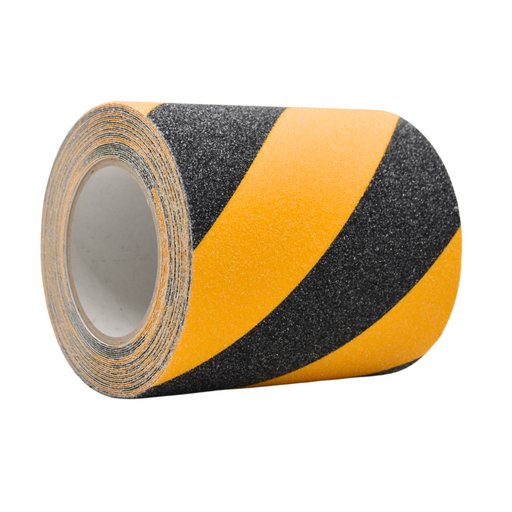
Anti Slip Grip Tape - 20 yards | AST32
Key Features 60-Grit Silicone Carbide: Texture provides excellent grip and traction for added slip resistance (s...
View full details -
Original price $3.85 - Original price $627.20Original price $3.85 - Original price $627.20Original price $222.40As low as: $3.85$3.85 - $482.46Current price $3.85
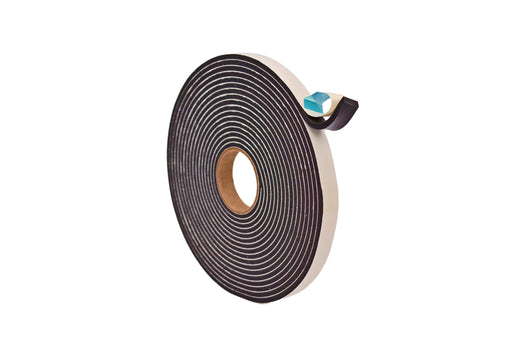
Black PVC Foam Weather Stripping Tape | SSLDFT (Made in USA)
Black PVC Foam Tape Light Compression Our Weather Stripping Tape is a closed-cell foam* with a strong acrylic adhesi...
View full details -
Original price $1.40 - Original price $172.80Original priceAs low as: $1.40$1.40 - $172.80Current price $1.40
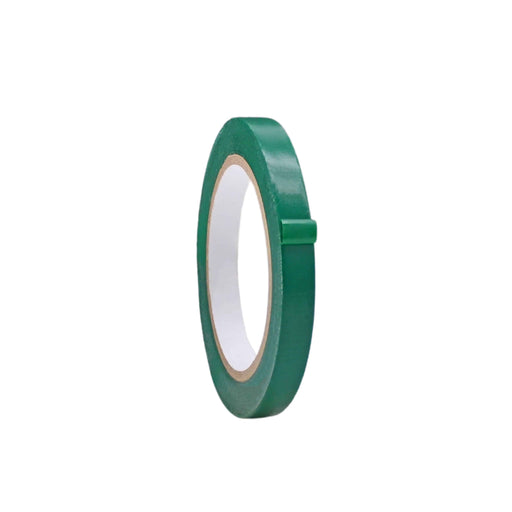
5 Mil Vinyl Pinstripe Floor-Marking Tape - 36 yards | VTC365 (1/4" to 6" Wide)
Our WOD VTC365 Colored Vinyl Tape is durable and long-lasting. It's easy to write on and provides excellent protectio...
View full details -
Original price $3.74 - Original price $599.04Original priceAs low as: $3.74$3.74 - $599.04Current price $3.74
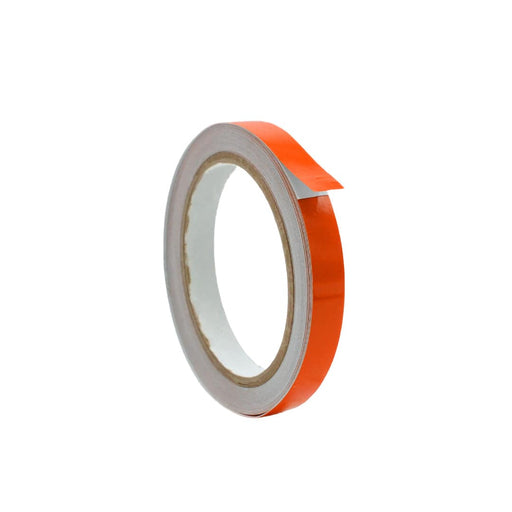
Engineering Grade Reflective Tape - 10 yards | RTC7
Engineering Grade Reflective Tape: the go-to solution for both permanent and temporary traffic signage, offering unma...
View full details -
Original price $1.43 - Original price $287.76Original priceAs low as: $1.43$1.43 - $287.76Current price $1.43
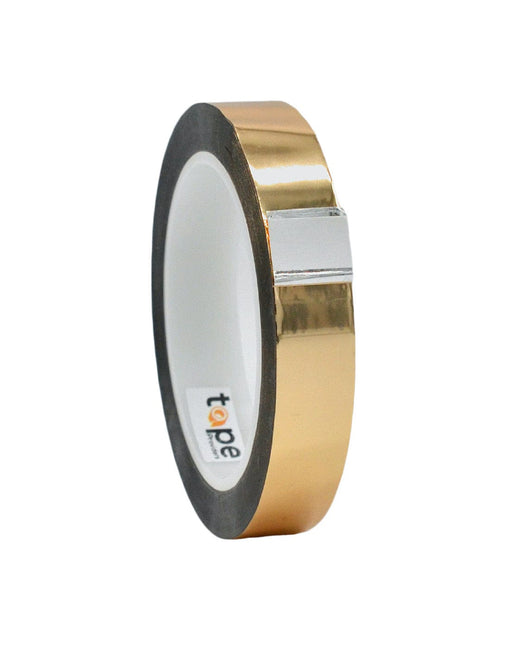
Metalized Polyester Mylar Film Tape | MPFT1 (72 yd)
Metalized Tape - Shiny Polyester Mylar Film Tape WOD MPFT1 Metalized Polyester Film Tape features a brilliant, mirror...
View full details -
Original price $14.55 - Original price $223.78Original priceAs low as: $14.55$14.55 - $223.78Current price $14.55
Colored Duct Tape - Industrial Grade - 60FT | DTC10 (2.5" to 6" wide)
INDUSTRIAL GRADE DUCT TAPE Key Features Upgrade to Industrial Strength With DTC10 – Superior Durability, Stronger ...
View full details -
Original price $11.87 - Original price $446.40Original price $11.87 - Original price $446.40Original price $11.87As low as: $4.03$4.03 - $334.62Current price $4.03
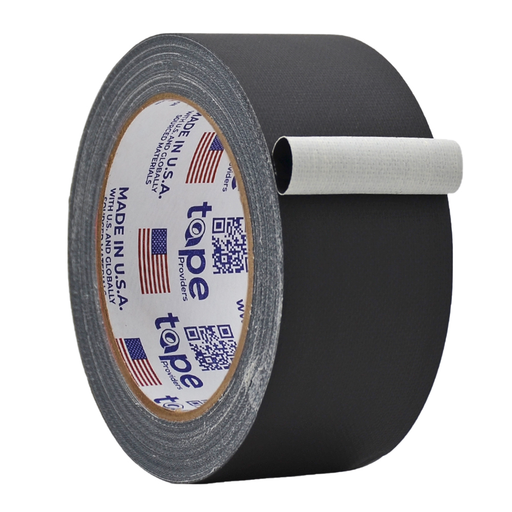
Gaffer Tape - Standard Grade - 60 FT | GTC12 (0.5" to 49" wide)
Standard grade gaffer tape designed for professional use: your go-to solution for film productions, theater setups, a...
View full details -
Original price $1.63 - Original price $240.00Original priceAs low as: $1.63$1.63 - $240.00Current price $1.63
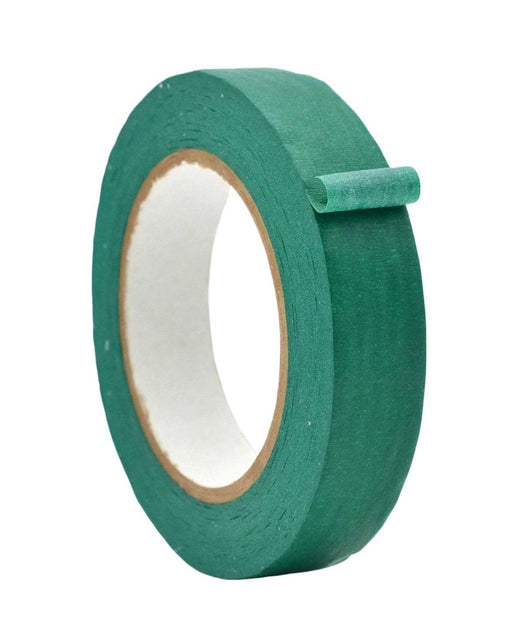
Colored Masking Tape - All Purpose | MTC5 (Made in USA)
MTC5 Colored Masking Tape A versatile, high-performance crepe paper tape designed for painting, labeling, arts & ...
View full details -
Original price $4.08 - Original price $409.67Original price $4.08 - Original price $409.67Original price $265.64As low as: $4.08$4.08 - $315.13Current price $4.08
Bi-Directional Filament Tape | BFST47
Bi Directional Filament Tape WOD BFST47 Bi Directional Filament Tape is designed for highly demanding applications su...
View full details



Leave a comment