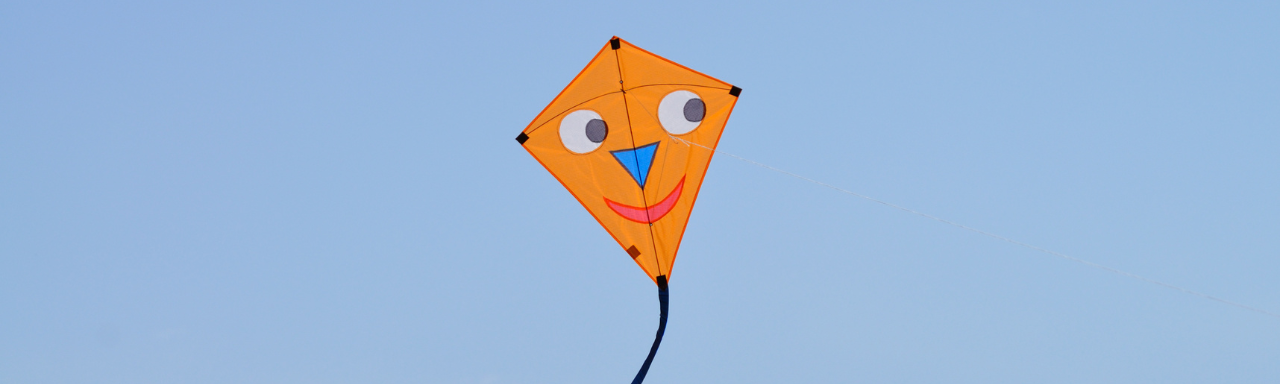
Fly High with This DIY Adhesive Tape Kite: A Step-by-Step Guide
Making a kite with adhesive tape might seem daunting, but you'll be soaring quickly with creativity and perseverance. In this article, I'll guide you through the step-by-step process of making a kite using only adhesive tape with the help of a trusty roll of Packaging Tape.
But first, let's talk about the benefits of making your kite. Not only is it a fun and rewarding activity, but it also allows you to customize your kite to your liking. Plus, it's a great way to get outside and enjoy the fresh air while honing your DIY skills.
So without further ado, let's dive into the steps to make your adhesive tape kite!

Step 1: Gather your materials. To make your kite, you'll need a few basic materials:
- Packaging Tape
- Two thin, lightweight wooden sticks or thin tubes
- A length of string or kite line
- Scissors

Step 2: Create the frame. Attach one of the sticks to the other stick's center, forming a cross shape. Secure the two posts together with a few pieces of Packaging Tape.

Step 3: Create the "fabric" Now it's time to create the "fabric" of your kite. Take your roll of Packaging Tape and tear off a long strip about two feet in length. Lay the sticky side up on a flat surface, then lay another strip directly on top of it, sticky side down. Repeat this process, layering strips of tape on each other until you have a piece of tape "fabric" that is at least three feet long.
Step 4: Attach the fabric to the frame. Lay the tape fabric over the frame, ensuring it is centered and the sticks are evenly spaced apart. Cut off any excess tape around the edges of the frame, leaving a small border around the outside.
Step 5: Create the tail. Cut a length of string or kite line, about four feet long. Tie a small piece of tape to one end of the string, then attach the other to the bottom of the kite frame using a few pieces of Packaging Tape. Cut several strips of tape, each about one foot long, and attach them to the string at even intervals to create a tail.
Step 6: Add the flying line Tie one end of the remaining string or kite line to the center of the kite frame, then tie the other end to a sturdy object such as a tree or post. Ensure the cable is taut and there are no knots or tangles.

Step 7: Test your kite. Now, it's time to take it for a test flight! Hold onto the flying line and run forward, allowing the wind to catch the kite and lift it into the air. If the kite does not fly well, try adjusting the tail or adding more tail strips.
There you have it - your very own adhesive tape kite! With a bit of patience and creativity, you can make a kite that is not only functional but also uniquely yours. So grab your materials and get started on your DIY kite adventure today!
Product Catalog
-
Original price $1.40 - Original price $308.88Original price $1.40 - Original price $308.88Original price $163.80As low as: $1.40$1.40 - $237.60Current price $1.40
Colored Electrical Tape - Standard Grade - 66 feet | ETC766MS
STANDARD GRADE ELECTRICAL TAPE Alternative to: Various industry standards such as Uline S-24477, S-17841, S-17842...
View full details -
Original price $21.99 - Original price $579.99Original price $21.99 - Original price $579.99Original price $21.99As low as: $10.50$10.50 - $345.72Current price $10.50
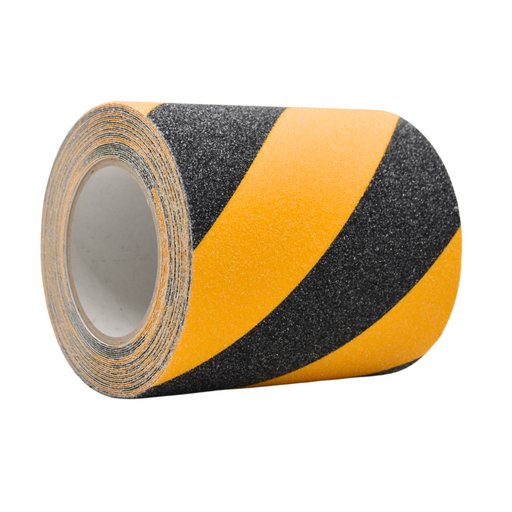
Anti Slip Grip Tape - 20 yards | AST32
ANTI-SLIP GRIP TAPE Alternative to: Various industry standards such as Uline S-14682, S-17181, S-15798, 3M Safety ...
View full details -
Original price $3.85 - Original price $627.20Original price $3.85 - Original price $627.20Original price $222.40As low as: $3.85$3.85 - $482.46Current price $3.85
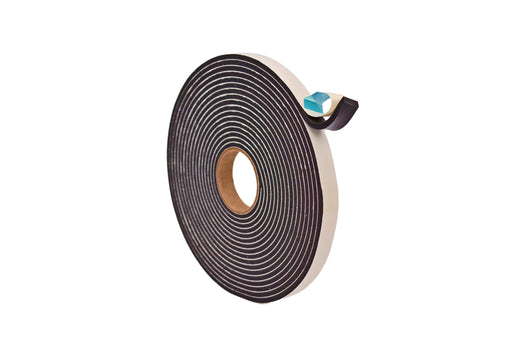
Black PVC Foam Weather Stripping Tape | SSLDFT (Made in USA)
BLACK PVC FOAM STRIPPING TAPE Alternative to: Various industry standards such as Uline S-3791, S-10530, S-3792, S-1...
View full details -
 Original price $1.40 - Original price $207.36Original priceAs low as: $1.40$1.40 - $207.36Current price $1.40
5 Mil Vinyl Pinstripe Floor-Marking Tape - 36 yards | VTC365
VINYL PINSTRIPE FLOOR-MARKING TAPE Alternative to: Various industry standards such as Uline S-23886, S-23887, S-238...
View full details -
 Original price $3.74 - Original price $599.04Original priceAs low as: $3.74$3.74 - $599.04Current price $3.74
Engineering Grade Reflective Tape - 10 yards | RTC7
ENGINEERING GRADE REFLECTIVE TAPE Alternative to: Various industry standards such as Uline S-15789, S-6730, S-1579...
View full details -
 Original price $1.43 - Original price $703.93Original priceAs low as: $1.43$1.43 - $703.93Current price $1.43
Metalized Polyester Mylar Film Tape | MPFT1 (72 yd)
METALIZED TAPE - SHINY POLYESTER MYLAR FILM TAPE Alternative to: Various industry standards such as Uline 15881, 17...
View full details -
 Original price $10.19 - Original price $156.65Original priceAs low as: $10.19$10.19 - $156.65Current price $10.19
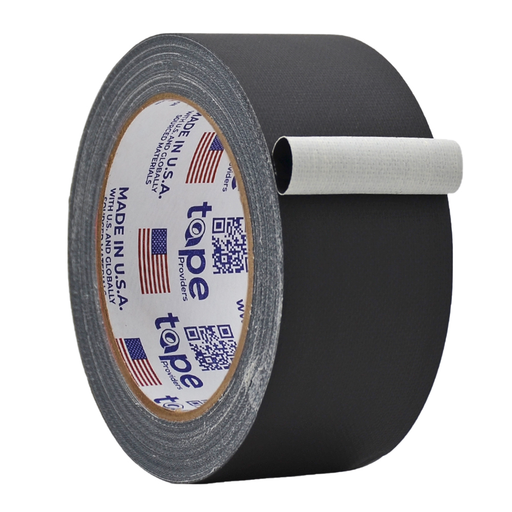
Industrial Grade - Colored Duct Tape - 60FT | DTC10 (2.5" to 6" wide)
INDUSTRIAL GRADE DUCT TAPE Alternative to: Various industry standards such as Uline S-6519, S-377; S-6519Tesa 6466...
View full details -
Original price $11.87 - Original price $446.40Original price $11.87 - Original price $446.40Original price $11.87As low as: $4.03$4.03 - $334.62Current price $4.03
Standard Grade - Colored Gaffer Tape - 60 FT | GTC12
STANDARD GRADE GAFFER TAPE Alternative to: Various industry standards such as Uline S-21257, S-21258, and more St...
View full details -
 Original price $1.63 - Original price $240.00Original priceAs low as: $1.63$1.63 - $240.00Current price $1.63
Colored Masking Tape - All Purpose | MTC5 (Made in USA)
MTC5 COLORED MASKING TAPE Alternative to: Various industry standards such as Uline S-7161, S-15894, S-2489, S-2490,...
View full details -
Original price $4.08 - Original price $409.67Original price $4.08 - Original price $409.67Original price $265.64As low as: $4.08$4.08 - $315.13Current price $4.08
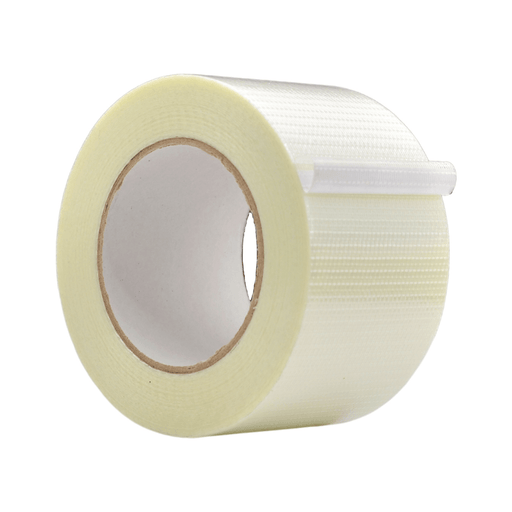
Bi-Directional Filament Tape | BFST47
BI-DIRECTIONAL FILAMENT TAPE Alternative to: Various industry standards such as 3M 8959; IPG 745; Cantech 190; Sica...
View full details


Leave a comment